

New energy has been discovered
Welcome, dear readers, to an exciting breakthrough in the world of science and technology!…

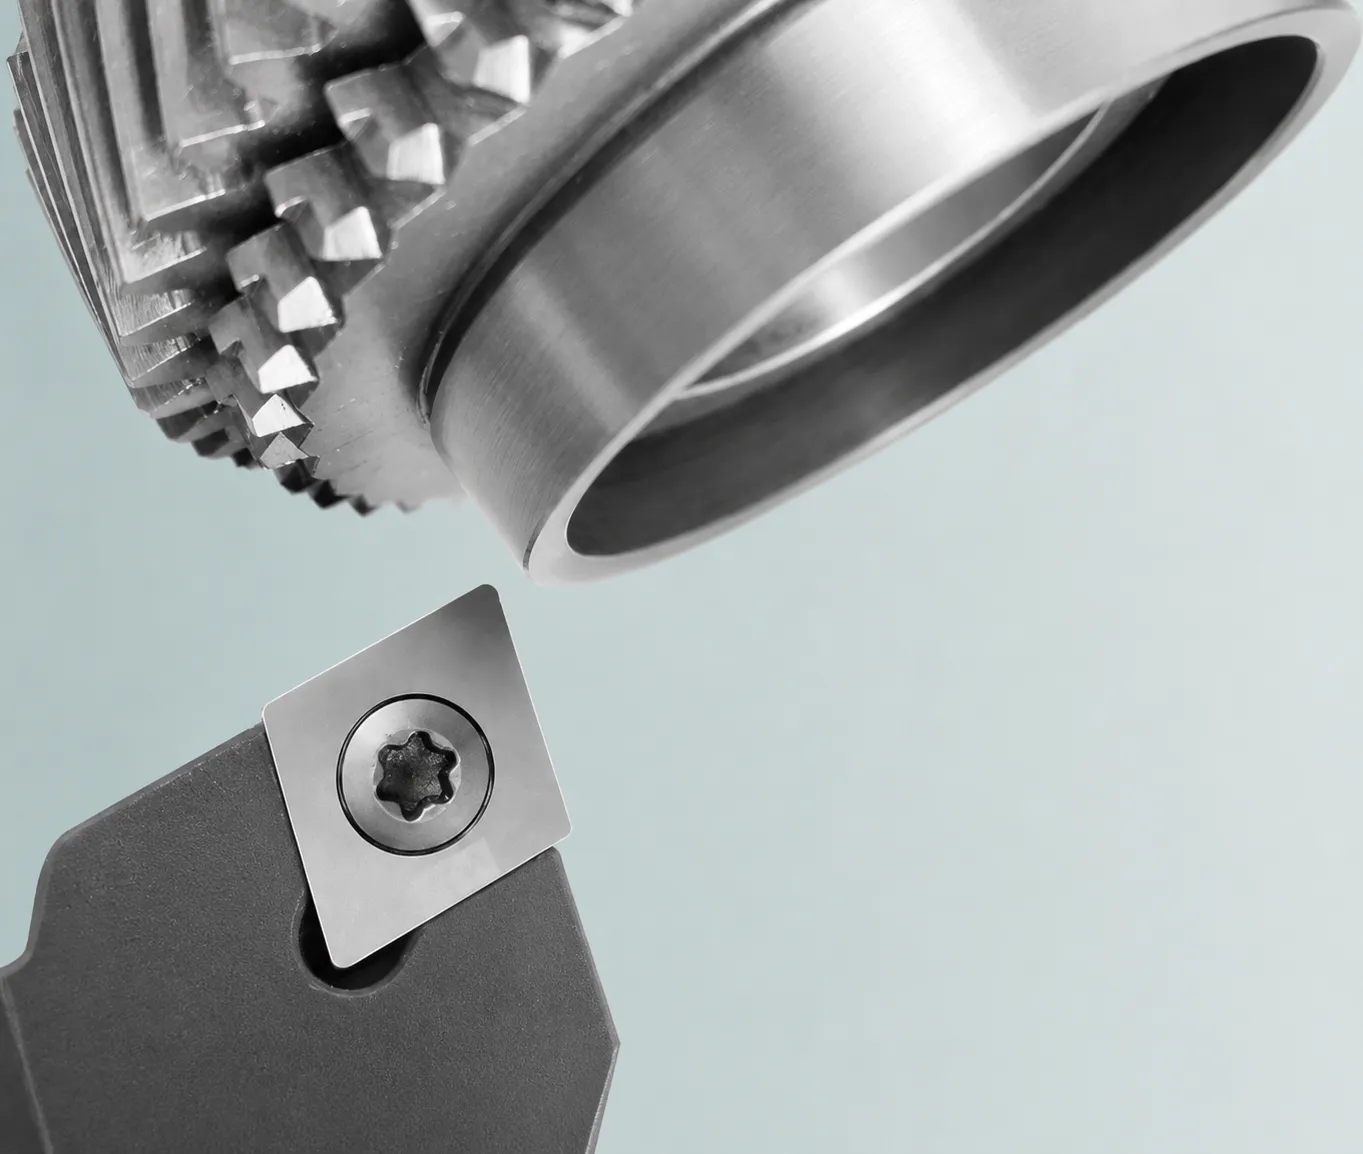
Located in the global manufacturing hub for superhard materials, PolyEdge Tools is dedicated to delivering premium PCD and PCBN inserts for high-performance machining.
By leveraging our region's unparalleled supply chain advantages and utilizing state-of-the-art imported grinding and laser-cutting equipment, we ensure every insert is crafted to rigorous international quality standards with ultimate edge precision.
We don't just supply tools; we engineer cutting solutions. Our technical team provides comprehensive support—from precise grade selection to custom edge preparation—helping you optimize tool life, reduce downtime, and achieve flawless surface finishes.
Advanced machinery, origin advantage, and expert support. We bring cutting excellence directly to your spindle.
1.Excessive Impact: Cutting interrupted surfaces, hard spots/crusts on the material, or using a feed rate that is too high.
2.Vibration (Chatter): Insufficient rigidity in the machine, fixture, or tool holder, causing unstable machining.
3.Built-Up Edge (BUE): Cutting speed is too low, causing material to weld to the edge and tear away parts of the blade when it breaks off.
4.Thermal Shock: Intermittent or uneven coolant application causes rapid heating and cooling, leading to micro-cracks.
5.Incorrect Selection: The blade material is too brittle (high hardness but low toughness) or the cutting edge is too sharp for the job.
1.Adjust Parameters:Decrease the feed rate to reduce mechanical impact, and increase the cutting speed to avoid Built-Up Edge.
2.Optimize Cooling: Ensure continuous and abundant coolant supply, or switch to dry cutting (air blow) during severe interrupted cuts to eliminate thermal shock.
3.Change the Blade/Insert: Switch to a tougher (more impact-resistant) grade or choose a stronger geometry with a chamfered/honed edge.
4.Enhance Rigidity: Minimize tool overhang, secure the workpiece and tool clamping tightly, and eliminate vibrations.
1.Abrasive Wear: Hard particles within the workpiece material scratch and scrape away the blade surface over time.
2.Thermal/Diffusion Wear: High cutting temperatures cause atoms to swap between the blade and the workpiece, softening the tool material.
3.Adhesive Wear (Friction): At high pressures and friction, microscopic parts of the material stick to the blade and tear away tiny particles as they slide past.
4.Chemical/Oxidation Wear: High temperatures combined with exposure to air cause the blade coating or material to oxidize and degrade.
1.Reduce Cutting Speed: High speed is the number one cause of heat. Lowering the cutting speed (Vc) is the most effective way to reduce thermal wear.
2.Upgrade Coating/Grade: Switch to a blade with a harder, more wear-resistant coating (like CVD or PVD) or a substrate grade designed for high heat resistance.
3.Optimize Coolant Delivery: Use high-pressure or targeted coolant to flush away abrasive chips and lower the temperature in the cutting zone.
4.Adjust Feed Rate: If the feed rate is too low, the blade rubs against the material instead of cutting it, increasing friction. Ensure an optimal feed rate (f).
1.Tool Wear or Deflection: A dull blade increases cutting resistance, or an overextended tool holder bends slightly under pressure.
2.Incorrect Parameters: The cutting speed is too low (causing material tearing) or the feed rate is too high for a smooth finish.
3.Vibration (Chatter): Poor clamping of the workpiece or tool holder leads to micro-vibrations, leaving chatter marks.
4.Thermal Expansion: Excessive heat buildup causes the workpiece or machine parts to expand, leading to dimensional errors.
5.Built-Up Edge (BUE): Workpiece material welds to the cutting edge, altering the tool's actual cutting geometry.
1.Optimize Parameters: Increase the cutting speed to prevent built-up edge, and reduce the feed rate or depth of cut for finishing passes.
2.Minimize Tool Overhang: Keep the tool holder extension as short as possible to enhance rigidity and prevent deflection.
3.Check Clamping & Rigidness: Ensure both the workpiece and the tool holder are clamped securely to eliminate vibrations.
4.Use Proper Coolant: Apply continuous, high-volume coolant to wash away chips, reduce friction, and control thermal expansion.
5.Inspect/Replace the Blade: Check for micro-chipping or flank wear. Switch to a blade with a sharper cutting edge or a specialized finishing geometry.
1.Low Cutting Speed: At low speeds, the material becomes highly plastic and sticky instead of forming clean chips, making it easy to weld to the blade.
2.High Cutting Heat & Pressure: Intense friction creates high temperatures at the chip-tool interface, causing the workpiece material to "micro-weld" to the tool.
3.Insufficient Lubrication: Poor or uneven coolant application fails to reduce friction and lower the temperature in the cutting zone.
4.Incorrect Blade Coating/Surface: The blade lacks a smooth, anti-seizure coating, or the cutting edge is too blunt, increasing friction.
1.Increase Cutting Speed: Raise the cutting speed (Vc) to move out of the built-up edge temperature zone, allowing chips to deform and flow away quickly.
2.Improve Lubrication/Cooling: Use high-pressure or high-lubricity coolant (such as soluble oil with EP additives) to flood the cutting area and prevent sticking.
3.Choose the Right Coating: Use blades with a very smooth surface and low friction coefficient, such as PVD-coated inserts or specialized uncoated/polished inserts for non-ferrous metals.
4.Use a Sharper Geometry: Select an insert with a positive rake angle and a sharp cutting edge to reduce cutting forces and minimize friction.

+
+
+
%